Why Installing a New Thermostat Can Transform Your Home
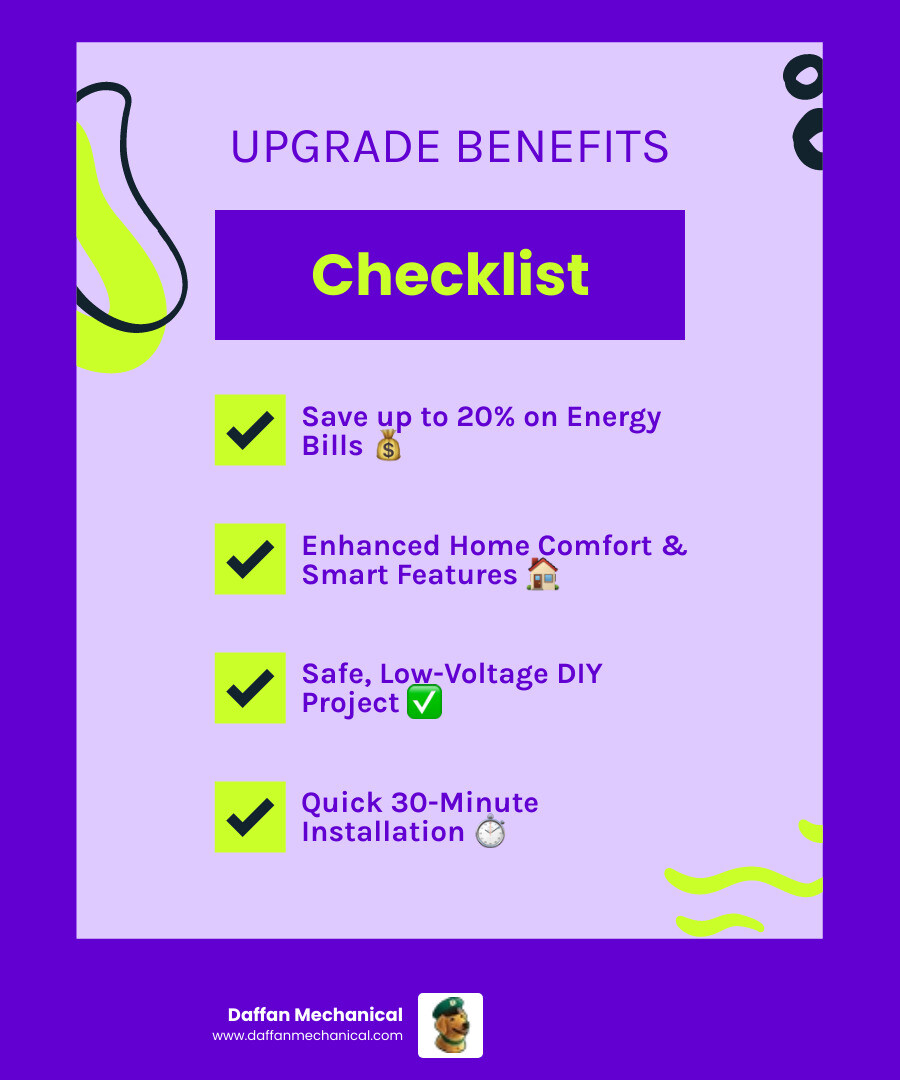
Install new thermostat projects are among the most rewarding DIY upgrades you can tackle. This simple home improvement can save you up to 20% on your annual energy bills while dramatically improving your home’s comfort.
Quick Answer for Installing a New Thermostat:
- Turn off power at the circuit breaker
- Remove old thermostat and label wires with masking tape
- Mount new base using a level and wall anchors
- Connect wires to matching terminals on new thermostat
- Install batteries and attach faceplate
- Restore power and test heating/cooling cycles
The good news? Thermostat installation is considered a low-risk project that most homeowners can complete in 30 minutes or less. Unlike major electrical work, thermostats typically use low-voltage wiring (24 volts), making them much safer to work with than standard household electrical systems.
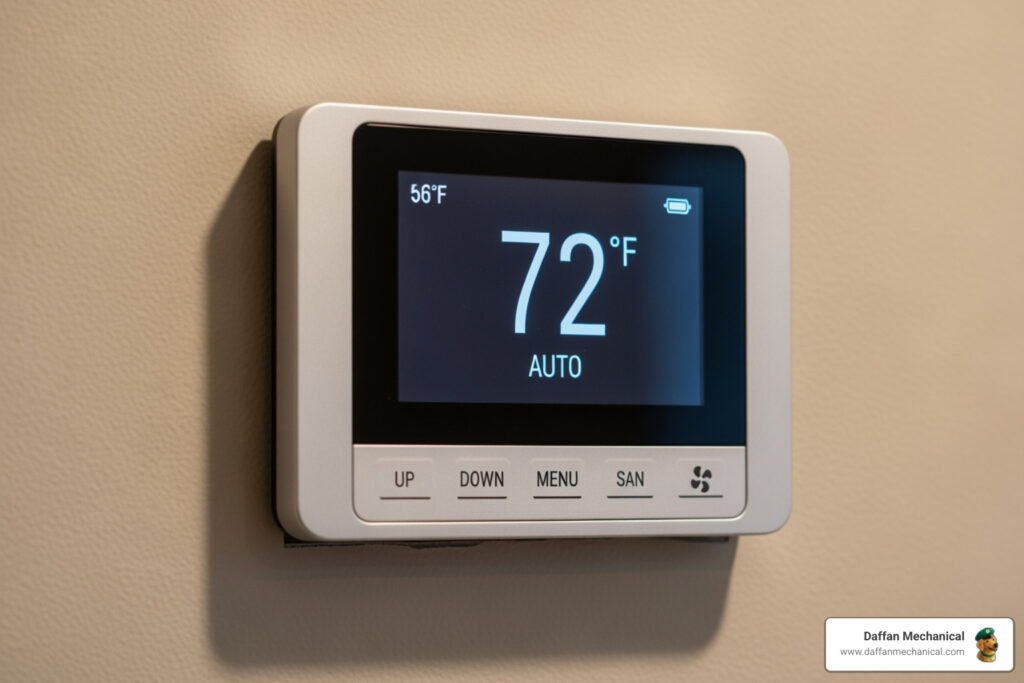
Modern thermostats offer incredible features that weren’t available just a few years ago. Smart thermostats can learn your daily routines, adjust temperature based on your location using geofencing, and even provide detailed energy reports through smartphone apps.
Whether you’re dealing with an inefficient old thermostat that’s driving up your energy bills or you simply want the convenience of controlling your home’s temperature from anywhere, installing a new thermostat is one of the fastest ways to improve both comfort and efficiency.
The key to success lies in proper preparation and following the right steps. With the right tools and a systematic approach, you’ll have your new thermostat up and running smoothly.
Preparation: Gathering Your Tools and Choosing the Right Thermostat
Getting ready to install new thermostat is like preparing for any successful home project – having the right tools makes all the difference between a smooth afternoon and a frustrating experience that sends you running to the hardware store halfway through.
Let’s start with your toolkit. You’ll need a screwdriver (preferably one with multiple heads since you’ll likely encounter both Phillips and flathead screws), and here’s where safety becomes crucial – a voltage tester is absolutely essential. This little device confirms that power is truly off before you touch any wires. Trust me, it’s worth every penny for peace of mind.
Don’t forget pliers for gently handling wires, wire strippers in case you need to refresh any frayed connections, and a level to ensure your new thermostat sits perfectly straight on the wall. Some folks overlook this detail, but a crooked thermostat is something you’ll notice every time you walk by.
You’ll also want wall anchors on hand since your new thermostat might not align with existing holes, masking tape and a pencil for labeling (this is crucial – more on that later), and if you’re working with drywall, having the right anchors ensures your thermostat stays securely mounted.
Here’s a pro tip that might save your project: keep a pencil handy. When you disconnect the old thermostat wires, there’s always a risk they’ll fall back into the wall cavity. A simple pencil taped across the opening can prevent this headache-inducing mishap.
Choosing the Right Thermostat for Your Home
Now comes the fun part – picking your new thermostat! Think of this decision like choosing the brain for your home’s comfort system. The right choice depends on your lifestyle, budget, and how much control you want over your home’s temperature.
Non-programmable thermostats are the straightforward option. You set the temperature, and it maintains that setting until you manually change it. They’re reliable and budget-friendly, though they won’t help much with energy savings since they can’t automatically adjust when you’re away.
Programmable thermostats step things up significantly. These clever devices let you create schedules for different times and days. Imagine coming home to a perfectly comfortable house without having to heat or cool it all day while you’re at work. That’s the magic of programming – set it once, and it handles the rest automatically.
Smart thermostats represent the cutting edge of home comfort technology. These Wi-Fi connected devices offer remote control through smartphone apps, and many can actually learn your habits over time. Some use geofencing to detect when you’re coming home and adjust the temperature accordingly. Our guide on Smart Thermostats for Home Comfort dives deeper into these impressive features.
The most important consideration when choosing your thermostat is system compatibility. Most homes with central HVAC systems use low-voltage thermostats that work with furnaces and standard air conditioning units. However, heat pump systems often require special thermostats that can handle both heating and cooling functions differently than traditional systems.
If you’re unsure about your system type or compatibility requirements, our Thermostat 101 guide provides detailed information about different HVAC configurations. Taking a few minutes to verify compatibility now can save you from finding an incompatible thermostat after you’ve already removed the old one.
How to Install a New Thermostat: A Step-by-Step Guide
Now comes the exciting part! Learning how to install new thermostat systems is surprisingly straightforward, but let’s make sure we do this safely and correctly. Most home thermostats operate on low-voltage systems (typically 24 volts), which makes them much safer to work with than your standard household outlets that carry 120-240 volts.
That said, even low voltage deserves respect. A small shock isn’t the biggest concern here – it’s the potential damage to your HVAC system if wires get crossed. Line-voltage systems (found with some baseboard heaters) require extra caution, so if you’re unsure about your system type, it’s always wise to consult a professional.
Safety first, comfort second – that’s our motto at Daffan Mechanical!
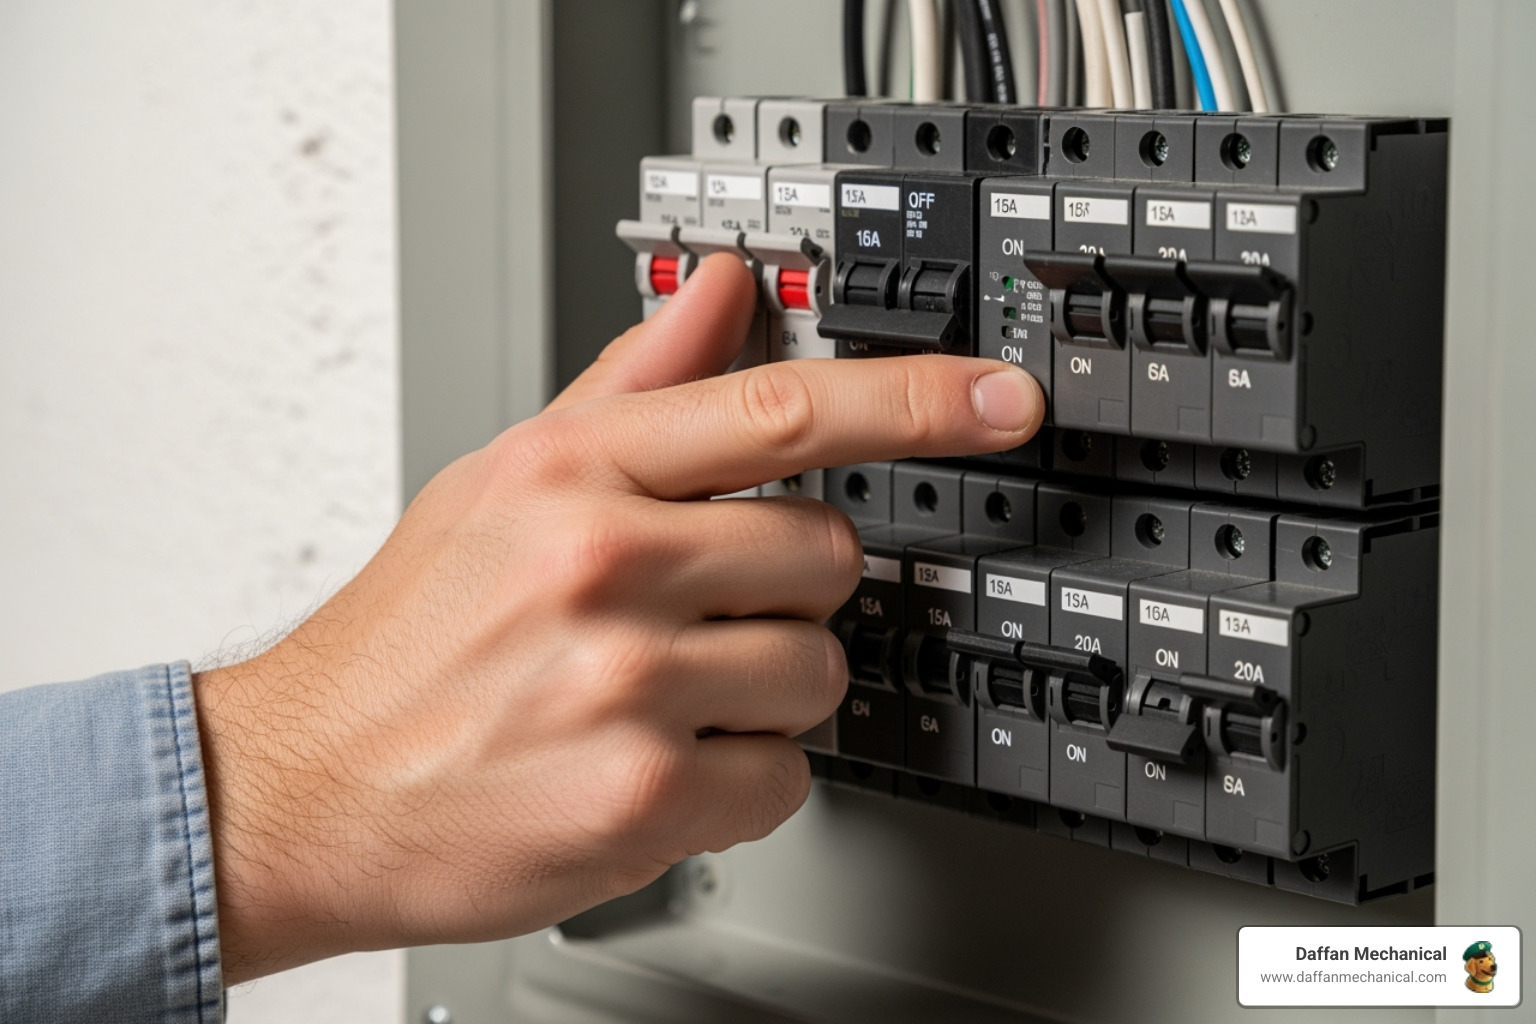
Step 1: Turn Off Power and Remove the Old Thermostat
Here’s where we get serious about electrical safety. Before we touch a single wire, we need to kill the power completely. No shortcuts, no “just being careful” – we’re doing this right.
Head to your circuit breaker panel and look for the switch labeled for your furnace, AC, or HVAC system. If the labels are unclear (and let’s be honest, they often are), you might need to flip the main breaker for your whole house. Better safe than sorry! You can also look for an HVAC power switch near your furnace – many systems have a dedicated on/off switch that looks like a light switch.
Once you’ve turned off the power, it’s time to verify power is off. Try adjusting your old thermostat to see if the system responds. No response is exactly what we want! For extra peace of mind, use your voltage tester on the thermostat wires once they’re exposed. Zero volts means we’re good to go.
Now we can safely remove the faceplate from your old thermostat. Most simply snap or clip off, revealing the base and wiring underneath.
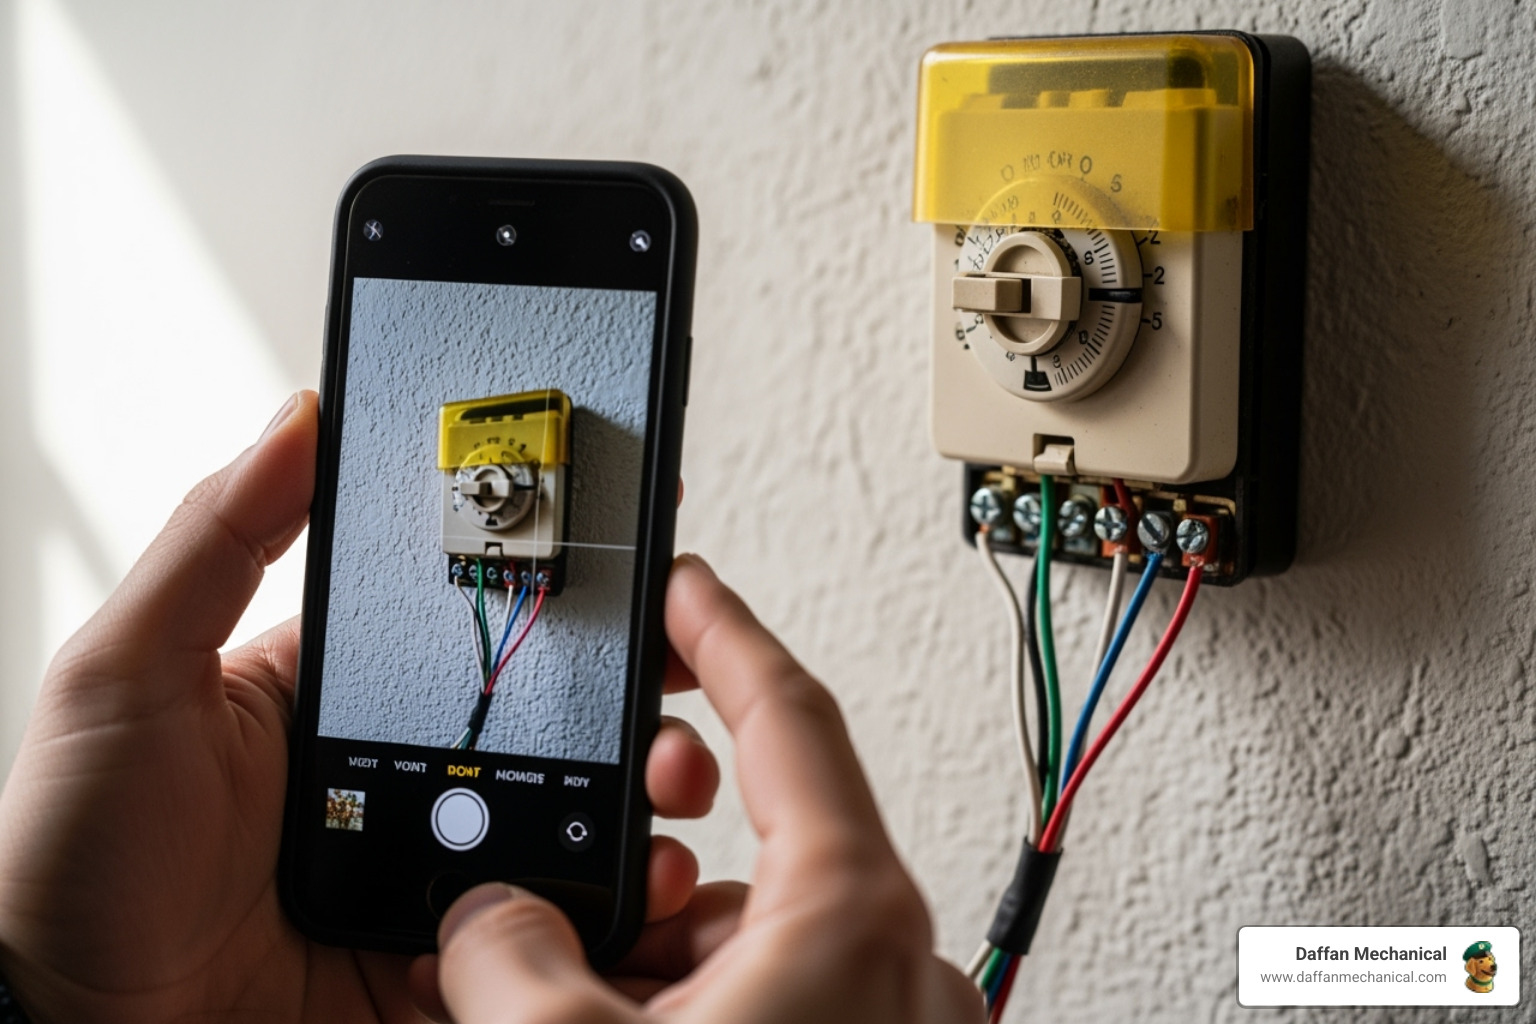
Here’s the most important step: take a photo of those wire connections! This isn’t optional – it’s your insurance policy. Get a clear, close-up shot of every wire and where it connects. Even if you think you’ll remember, trust me, you won’t. Your future self will thank you for this simple step.
Next comes labeling wires with your masking tape and pen. Don’t rely on wire colors alone – they’re not standardized! Instead, label each wire with the letter of the terminal it’s connected to (R, Y, G, W, etc.). This way, you’re matching functions, not just colors, which prevents those frustrating wire labels mix-ups.
Carefully disconnect wires by loosening the terminal screws. Here’s where our pencil trick comes in handy: once the wires are free, wrap them around a pencil or tape them to the wall. This prevents wires from falling into the wall cavity, which is one of those “why didn’t I think of that?” moments that can turn a 30-minute job into an hour-long fishing expedition.
Step 2: Mount the New Base and Connect the Wires
With your old thermostat out of the way, it’s time to welcome the new one! Start by holding up your new thermostat base (also called a wall plate) against the wall where the old one lived.
Leveling the base is crucial for both function and appearance. Use your level to get it perfectly straight, then mark any new screw holes with your pencil. If the holes don’t line up with the old ones, those wall anchors we mentioned earlier will ensure a rock-solid mount.
Carefully thread wires through the opening in the new base, then comes the moment of truth: connecting wires. This is where your photo and labeled wires become your best friends! Match each labeled wire to the corresponding terminal labels on your new thermostat.
Here’s where people often stumble, so let’s talk about common wiring mistakes. The biggest one? Rushing through the connections. Double-check each wire against your photo and the new thermostat’s diagram. Make sure connections are tight – give each wire a gentle tug to confirm it won’t pull loose.
Loose or incorrect wiring can blow the low-voltage fuse in your furnace, leaving you scratching your head wondering why nothing works. If you notice any unusual behavior after installation, our guide on What Blinking Thermostat Lights Mean can help decode what your system is trying to tell you.
Wire color codes can be tricky since they’re not universal, which is why we labeled everything earlier. Stick to your labels, not the colors, and you’ll be golden.
Step 3: Mount the Thermostat and Restore Power
We’re in the home stretch now! Attach the faceplate to the mounted base – it should snap or click into place satisfyingly. If your new thermostat needs batteries, install batteries now using fresh ones from the package.
Time to restore power by flipping that circuit breaker back on. Now comes the fun part: testing the system!
Start with a heating cycle by setting your thermostat to heat and cranking the temperature way up. Listen for your furnace to kick in and feel for that warm air flowing from your vents. Then switch to a cooling cycle – drop the temperature setting well below room temperature and listen for your AC to fire up.
Don’t forget to test fan operation in both “on” and “auto” modes. The fan should run continuously when set to “on” and only when heating or cooling when set to “auto.”
If something’s not quite right, don’t panic! Sometimes it’s just a loose wire or a simple setting. Our comprehensive guide Why Is My Thermostat Not Working? covers the most common issues and their solutions.
Congratulations – you’ve just successfully learned how to install new thermostat systems! You should feel pretty proud right about now.
Special Considerations for Smart Thermostats and the C-Wire
Smart thermostats are truly changing home comfort, allowing us to control our climate from anywhere, integrate with smart home systems, and even learn our daily routines. These incredible features, including Wi-Fi connectivity, large displays, and learning algorithms, require a continuous power source. This is where the mighty C-wire comes in! Dive deeper into connected comfort with our article on WiFi Thermostats: The Dream of a Fully Automated Smart Home.
What is a C-Wire and Why Do I Need One?

A C-wire, or “common wire,” provides a continuous flow of 24-volt power to your thermostat, independent of your heating or cooling calls. Think of it like a dedicated charging cable for your smart thermostat. Traditional, non-smart thermostats often only need power when they’re actively calling for heating or cooling, or they might run on batteries. But smart thermostats are always “on,” maintaining their Wi-Fi connection and running their advanced features. Without a C-wire, they might try to “steal” power by briefly cycling your fan or heating system, leading to unexpected behavior or draining batteries rapidly. For everything you need to know about this crucial wire, explore our detailed guide: Everything you need to know about a C-wire.
How to Install a New Thermostat Without a C-Wire
What if you’ve eagerly opened your wall and finded no C-wire? Don’t despair! You have a few options:
- Check for an Unused Wire: Sometimes, an unused wire (often blue or brown) is simply tucked into the wall behind your existing thermostat, or coiled at your HVAC control board. If you find one, it might be possible to connect it to the “C” terminal on your HVAC system’s control board and then to your new thermostat.
- C-Wire Adapter or Power Extender Kit: Many smart thermostat manufacturers offer “add-a-wire” or power extender kits. These clever devices usually involve connecting a module at your furnace or air handler that effectively creates a C-wire using your existing wiring. They typically come with detailed instructions.
- 24-Volt Transformer: You can purchase a separate 24-volt transformer that plugs into a standard wall outlet. This transformer would then provide the continuous power directly to your thermostat.
- Professional Installation: If you’re uncomfortable with any of these options, or if your wiring is particularly complex, we always recommend calling in the pros. Our knowledgeable technicians at Daffan Mechanical can assess your system and install a C-wire safely and efficiently.
Programming and Testing Your New Thermostat
Congratulations! You’ve successfully completed the physical installation. Now comes the fun part – bringing your new thermostat to life and teaching it how to keep your home perfectly comfortable.
The first step is always to follow your manufacturer’s instructions carefully, as each model has its own personality. Most modern thermostats will walk you through an initial setup process right on their display screen. This typically includes setting the current time, date, and your basic preferences.
If you’ve chosen a smart thermostat, you’ll want to connect it to your Wi-Fi network during this initial setup. The thermostat will usually display available networks, and you’ll enter your password using the on-screen interface. Once connected, you can download the manufacturer’s app on your smartphone or tablet. This is where the magic really happens – controlling your home’s temperature from anywhere becomes as easy as checking your text messages!
Programming for Maximum Efficiency
Here’s where your new thermostat starts paying for itself. Proper programming is like having a personal assistant who knows exactly when to adjust your home’s temperature for maximum comfort and savings.
Setting schedules is the cornerstone of energy efficiency. Think about your daily routine – you probably leave for work around the same time each day and return at a predictable hour. Your thermostat can learn this pattern! Program it to reduce heating or cooling when you’re at work or asleep, then have it ramp back up about 30 minutes before you return or wake up. This way, you’re not paying to heat or cool an empty house, but you’re always coming home to comfort.
Most thermostats come with built-in energy-saving modes like “Away” or “Eco” settings. These are your friends! They’re designed by engineers who understand how to balance comfort with efficiency, so don’t be afraid to use them.
Remember to make seasonal adjustments to your programming. What keeps you comfortable in July won’t work in January! In winter, lowering your temperature by 8 degrees when you’re away can make a noticeable difference in your heating bill. During summer, raising the temperature by a few degrees while you’re out works the same magic for your cooling costs.
The numbers don’t lie – according to Energy Star, homeowners can save about 8% on your energy bills by installing an Energy Star-certified smart thermostat. Over the course of a year, these savings really add up, often paying for the thermostat itself!
The beauty of modern programmable thermostats is that once you set them up properly, they work quietly in the background, optimizing your comfort and energy usage without you having to think about it. It’s like having a energy-conscious roommate who never forgets to adjust the temperature!
Frequently Asked Questions About Thermostat Installation
After helping countless homeowners with thermostat installations, we’ve noticed the same questions come up time and time again. Let’s tackle these head-on so you can install new thermostat with complete confidence!
What are the most common mistakes when you install a new thermostat?
We’ve seen it all over the years, and honestly, most mistakes are completely avoidable with just a little extra care. The biggest culprit? Skipping the power shutoff step. We know it seems obvious, but you’d be surprised how many folks get excited about their new thermostat and dive right in. This isn’t just about safety (though that’s paramount) – it can actually damage your HVAC system.
Incorrect wiring runs a close second. This usually happens when someone relies on wire colors instead of taking that all-important photo we mentioned earlier. Wire colors aren’t standardized, so what works in your neighbor’s house might be completely different in yours.
Not labeling wires properly goes hand-in-hand with wiring mistakes. We can’t stress this enough – those little pieces of masking tape with terminal letters written on them are your best friends during installation. Trust us, your memory isn’t as good as you think it is when you’re staring at a bundle of colored wires!
Finally, there’s damaging the HVAC system fuse. This typically happens when wires get crossed or touch each other, creating a short circuit that blows the low-voltage fuse in your furnace. The good news? It’s usually a simple, inexpensive fix. The not-so-good news? Your system won’t work until you replace that little fuse.
Will installing a new thermostat myself void my homeowner’s insurance?
This question keeps a lot of DIY enthusiasts up at night, but here’s some reassuring news: thermostat installation is considered low-risk work that shouldn’t affect your homeowner’s insurance coverage. We’re dealing with low-voltage systems here – typically just 24 volts – which is a far cry from the 120-240 volt systems that insurance companies worry about.
Think about it this way: homeowner’s insurance is designed to protect you from sudden, accidental damage like fires or water leaks. The risk of causing significant damage through a standard thermostat installation is minimal. However, every policy has its specifics, so if you’re the cautious type (and there’s nothing wrong with that!), a quick call to your insurance agent can give you peace of mind.
Now, if you find you’re dealing with a line-voltage system (you’ll see 120V or 240V marked on your old thermostat), that’s a different story entirely. Those systems require professional installation, and attempting DIY work on them could indeed affect your coverage.
My new thermostat is smaller than the old one. What do I do about the hole in the wall?
Ah, the classic “shrinking thermostat” dilemma! Modern thermostats are often much sleeker and smaller than their predecessors, which can leave you with an unsightly outline on your wall. Don’t worry – this is incredibly common, and there are some simple solutions.
Many new thermostats come with a decorative wall plate or trim plate specifically designed for this situation. These plates are larger than the thermostat itself and cover the footprint left by older models. If your thermostat didn’t include one, you can often find universal trim plates at your local hardware store.
For the perfectionist in you, spackling and painting will give you the cleanest, most seamless finish. Simply fill any exposed holes or damaged areas with spackle, let it dry, sand it smooth, and touch up with matching paint. It takes a bit more elbow grease, but the results speak for themselves.
The key is not to let this small cosmetic issue discourage you from upgrading. A little wall touch-up is a small price to pay for the comfort and energy savings your new thermostat will provide!
Take Control of Your Home’s Comfort
Congratulations! You’ve just completed one of the most rewarding home improvement projects possible. By learning how to install new thermostat yourself, you’ve taken a meaningful step toward greater home comfort and energy efficiency. There’s something deeply satisfying about completing a project with your own hands, especially when it delivers immediate benefits like lower energy bills and improved comfort control.
The beauty of thermostat installation lies in its simplicity and impact. Unlike major renovations that take weeks and cost thousands, this single afternoon project can transform how you interact with your home’s climate system. Whether you chose a programmable model that automatically adjusts throughout the day or a smart thermostat that learns your preferences, you’re now equipped with technology that works around the clock to optimize your comfort and savings.
Every time you adjust your temperature from your smartphone or watch your energy bills decrease, you’ll remember the confidence you gained by tackling this project yourself. That’s the real reward of DIY home improvement – not just the money saved on installation, but the empowerment that comes from understanding your home’s systems.
Of course, we know that not every homeowner feels comfortable working with electrical systems, even low-voltage ones. Sometimes you encounter unexpected challenges like missing C-wires, complex multi-stage systems, or wiring that doesn’t match the standard setup. That’s perfectly normal, and there’s no shame in calling for backup when you need it.
At Daffan Mechanical, we understand that your home’s comfort is too important to leave to chance. Our experienced technicians have seen every type of thermostat installation challenge, from century-old homes with unique wiring to modern smart home integrations. We serve homeowners throughout Granbury, Weatherford, and the surrounding communities with the same care and attention we’d bring to our own families’ homes.
Whether you’re dealing with a tricky installation or simply prefer the peace of mind that comes with professional service, we’re here to help. Our team brings not just technical expertise, but also the Christian values of honesty and integrity to every job. We’ll never oversell you on features you don’t need or rush through an installation just to move on to the next appointment.
For professional thermostat replacement in Granbury, TX, contact us today! We also provide expert installation services in Weatherford, TX Thermostat Replacement and throughout Hood County.
Ready to upgrade your home comfort with professional installation? Visit our dedicated service page to schedule your thermostat replacement: https://www.daffanmechanical.com/hvac/granbury-tx/thermostat-replacement/
Your home deserves the best in comfort technology, whether you install it yourself or trust it to our capable hands.


